firebase 기초 활용
2023. 1. 2. 18:48ㆍBack-End/Firebase
1. 사용자 관리
(1) Authentication 시작하기
(2) 아래의 화면에서 이메일/비밀번호 선택

(3) 아래와 같이 설정을 한 후 저장버튼 클릭

2. 사용자 추가
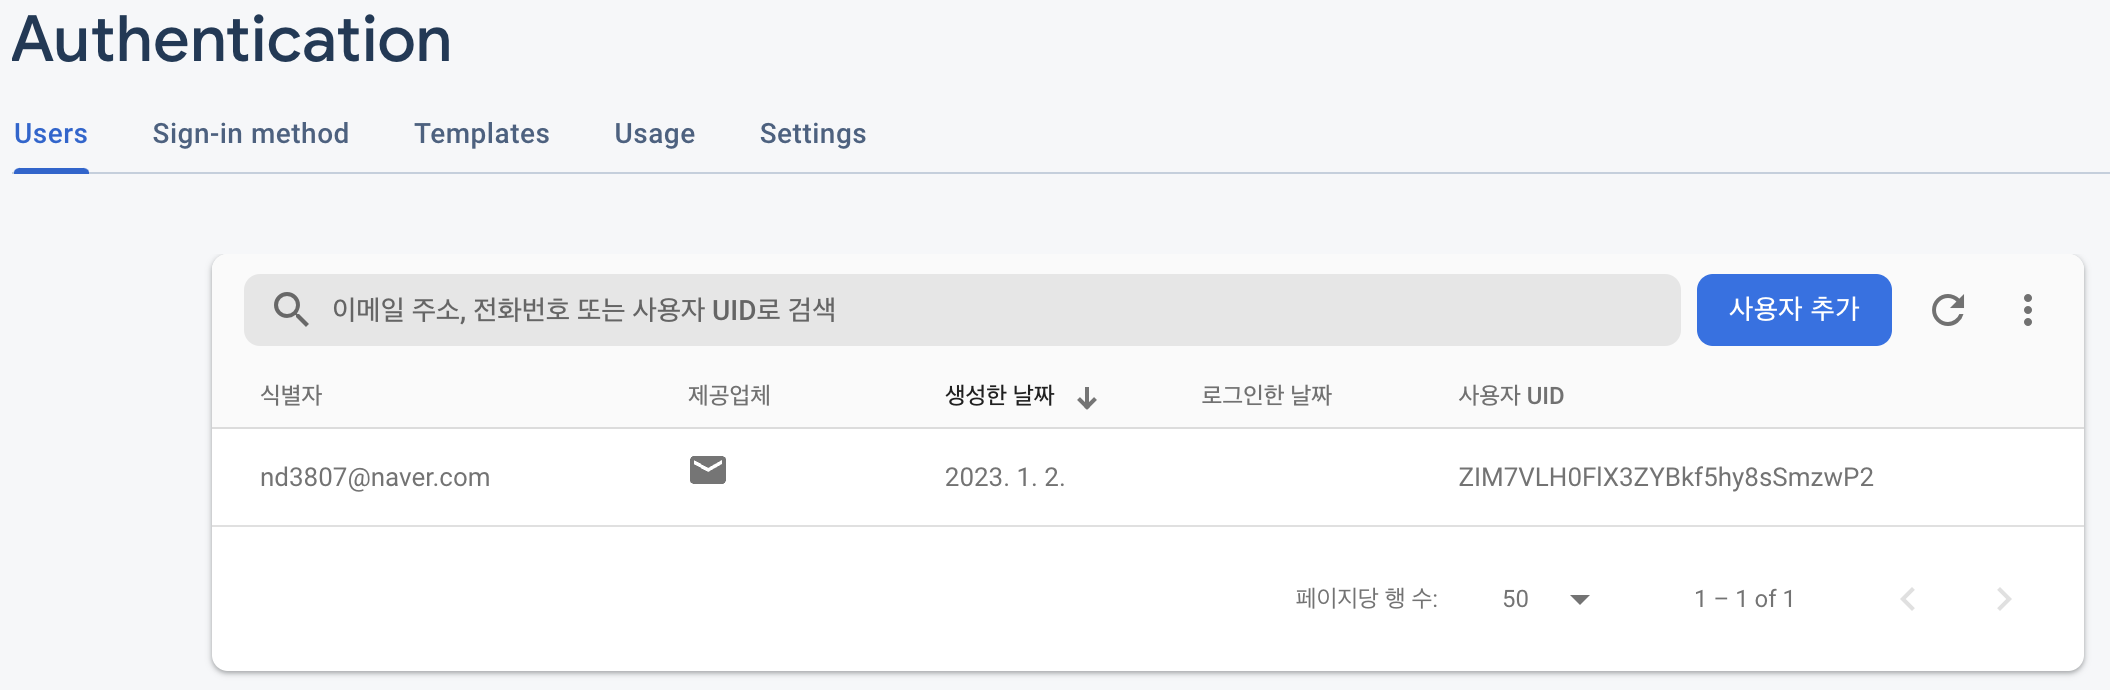
(1) Authentication - Users에서 사용자 추가 버튼 클릭하여 이메일과 비밀번호를 입력 후 사용자를 추가한다.
3. 데이터베이스 사용
(1) 데이터베이스를 테스트모드로 클릭하여 생성한다.
(2) 컬렉션 시작 버튼을 누른 후 컬렉션 ID를 users로 입력한다.
(3) 문서 추가에서는 문서 ID를 자동ID로 설정하고 필드, 유형, 값 을 정하여 생성한다.
(4) 필드에 해당 데이터가 추가된 것을 볼 수 있다.

4. 프로젝트 실행 후 Home.vue 파일 열기
(1) <script> 태그 안에 아래와 같이 데이터를 선언할 수 있는 공간을 생성
data(){
  return {

  }
}
(2) 위에 코드 return안에 아래의 코드 입력
fbCollection: 'users',
rows: [],
(3) methods 선언 공간을 생성 한 후 getDataList() 함수 생성, getDataList() 함수를 호출하는 init() 함수 생성
methods: {
  getDataList(){
    const self = this;
    const db = firebase.firestore();
    db.collection(self.fbCollection)
        .get()
        .then((querySnapshot) => {
          if (querySnapshot.size === 0) {
            return
          }
          querySnapshot.forEach((doc) => {
            const _data = doc.data();
            _data.id = doc.id //각 유저 필드에 따로 id값이 없지만 유저 고유 id를 불로올 수 있음
            console.log(_data)
            self.rows.push(_data);
          });
        })
  },
  init(){
    this.getDataList()
  }
},
(4) mounted를 만들어 안에 init() 함수를 호출한다.
mounted는 화면이 실행되자마자 수행해야하는 것을 보여준다.
mounted() {
  const self = this;
  self.init();
},
(5) firebase를 import 시킨다.
import {firebase} from '@/firebase/firebaseConfig';(6) 아래와 같이 <template> 태그 안에 데이터 바인딩을 통해 rows 값을 가져온다.
<template>
  <div class="home">
    <table border="1">
      <th>이름</th>
      <th>나이</th>
      <th>성별</th>
      <th>id</th>
      <tr v-for="rows in rows" :key="rows">
        <td>{{rows.name}}</td>
        <td>{{rows.age}}</td>
        <td>{{rows.gender}}</td>
        <td>{{rows.id}}</td>
      </tr>
    </table>
  </div>
</template>
(5) 서버를 실행시켜 확인

'Back-End > Firebase' 카테고리의 다른 글
| [Vue.js] 파이어베이스를 연동하여 데이터 다루기 (0) | 2023.01.04 |
|---|